Create your services
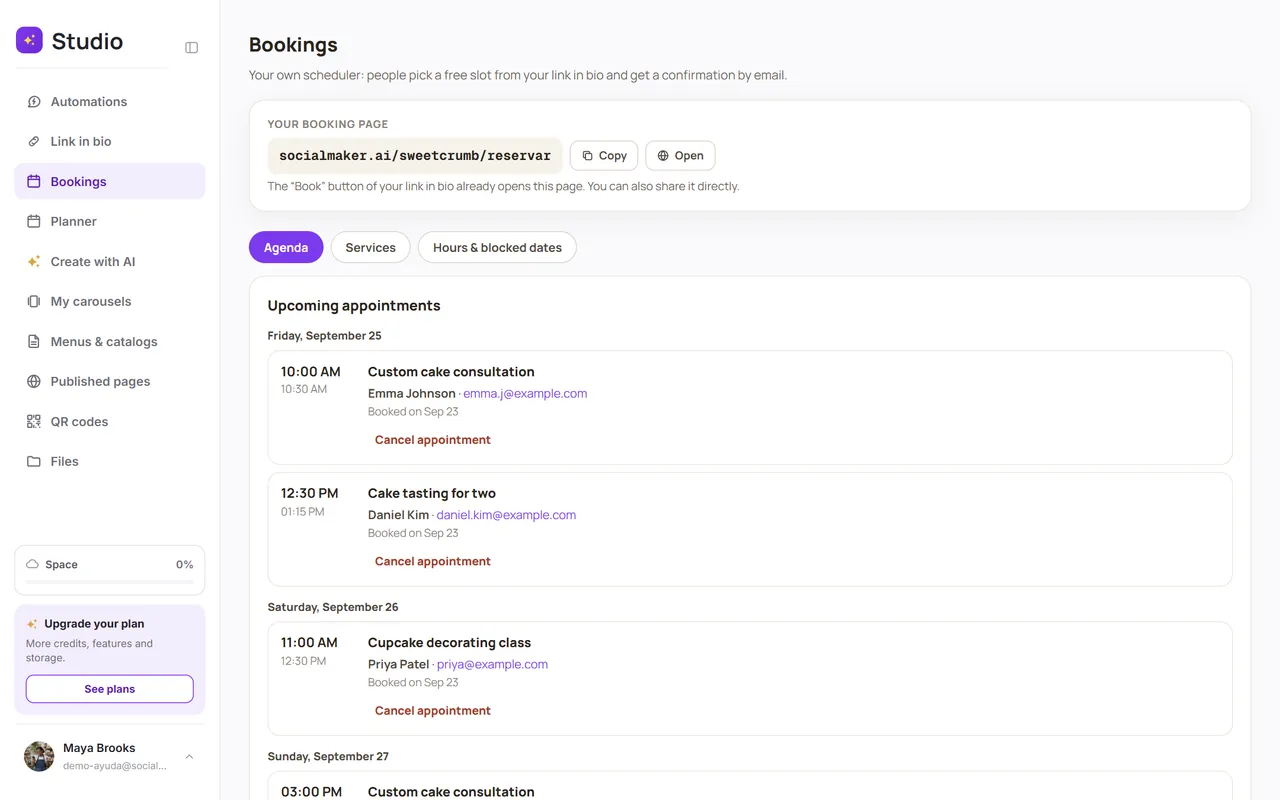
Build your online booking calendar: each service with its duration, price and location. Your clients book from your link in bio.
With Bookings, your clients pick an open time slot and get an email confirmation, with no back and forth in messages. Your booking page lives in your link in bio: socialmaker.ai/yourname/reservar.
Step by step
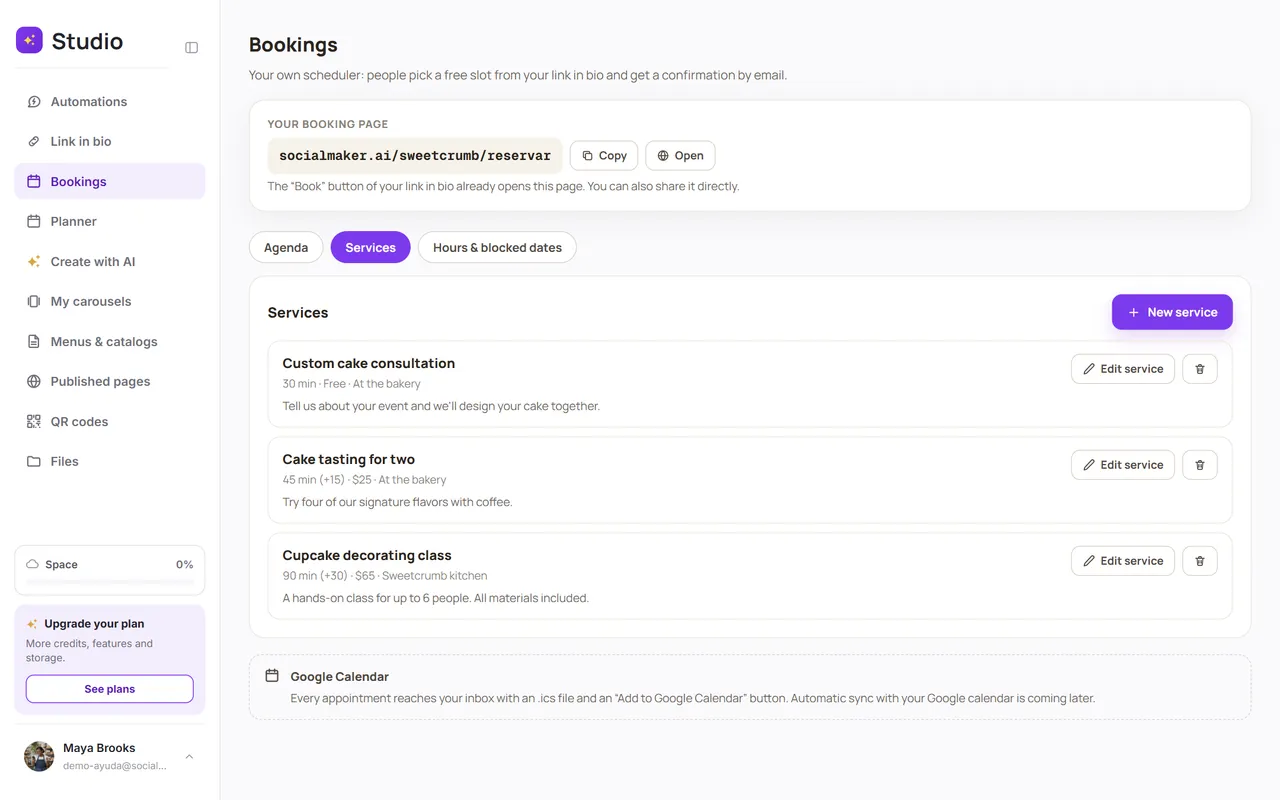
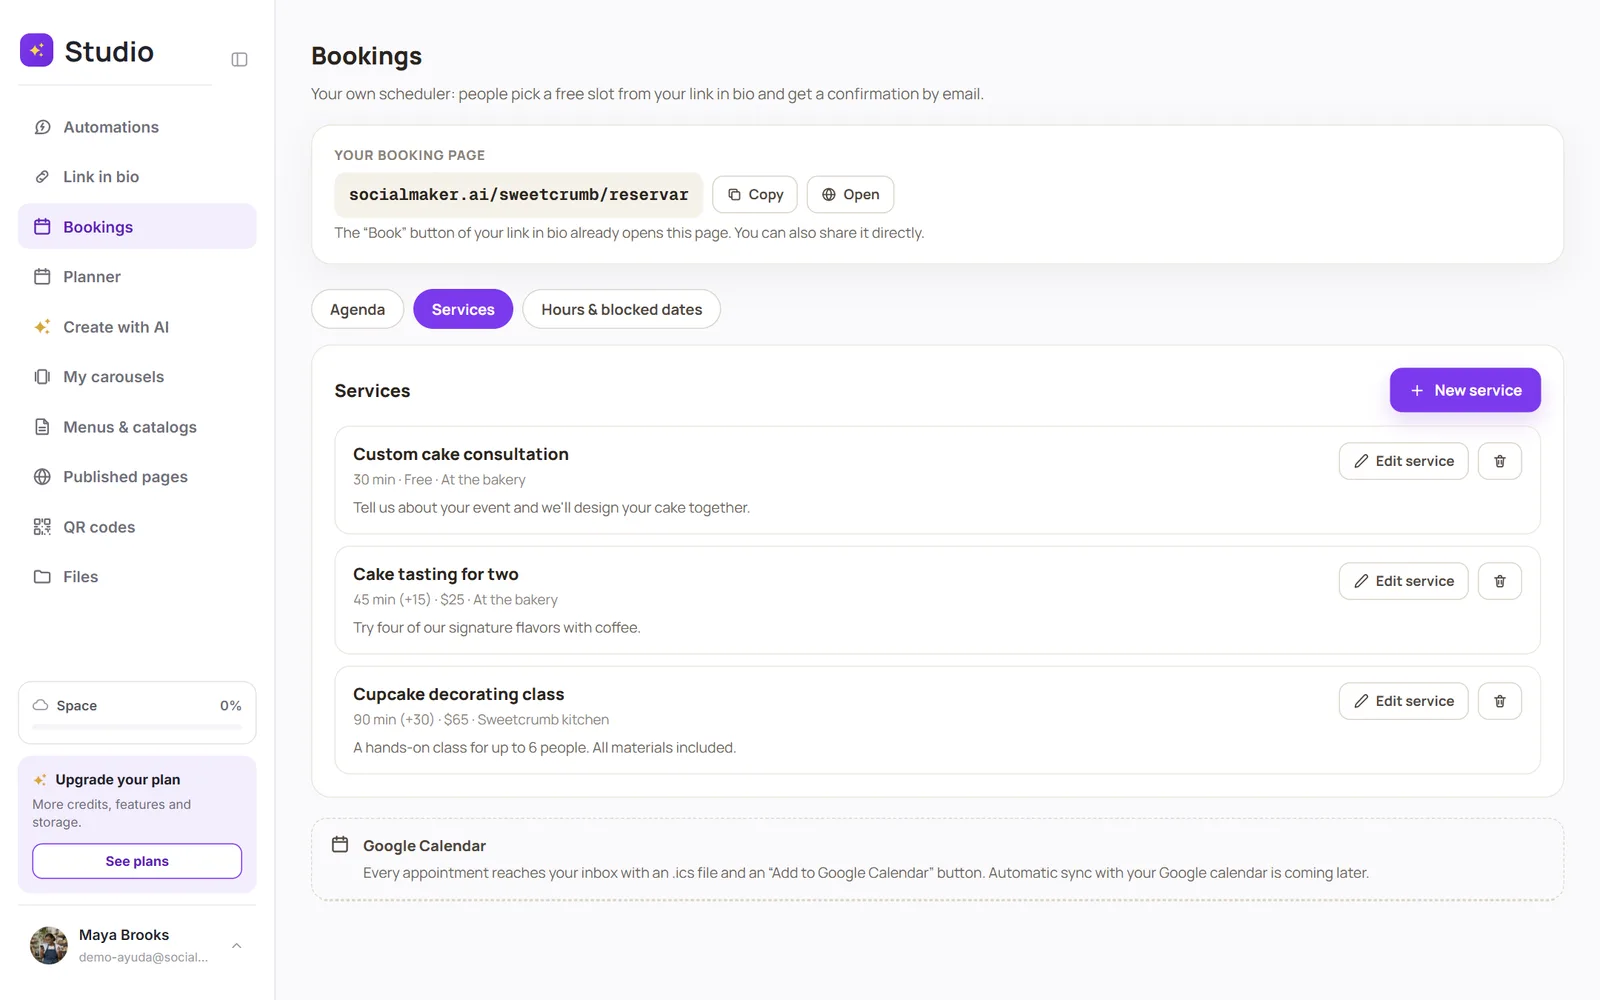
Open Bookings → Services and tap “New service”
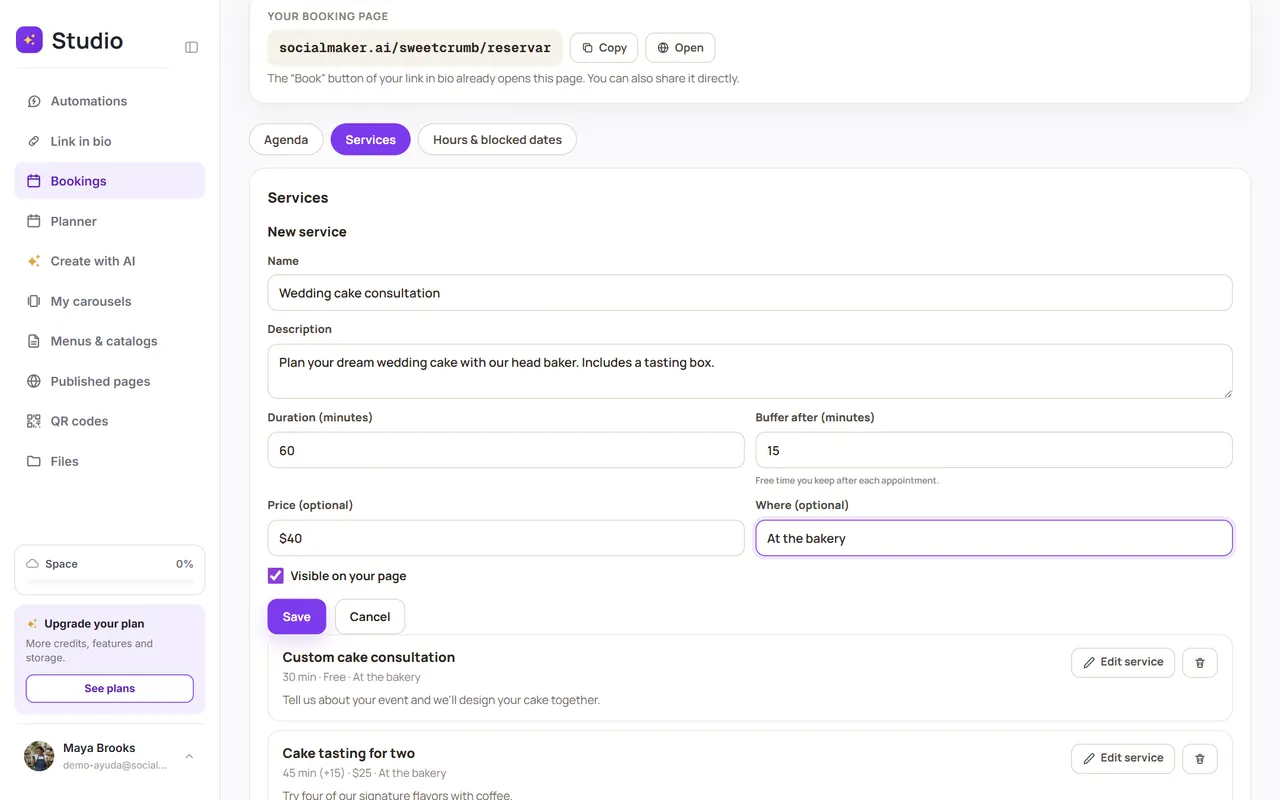
Fill in the details
Only the name and duration are required.
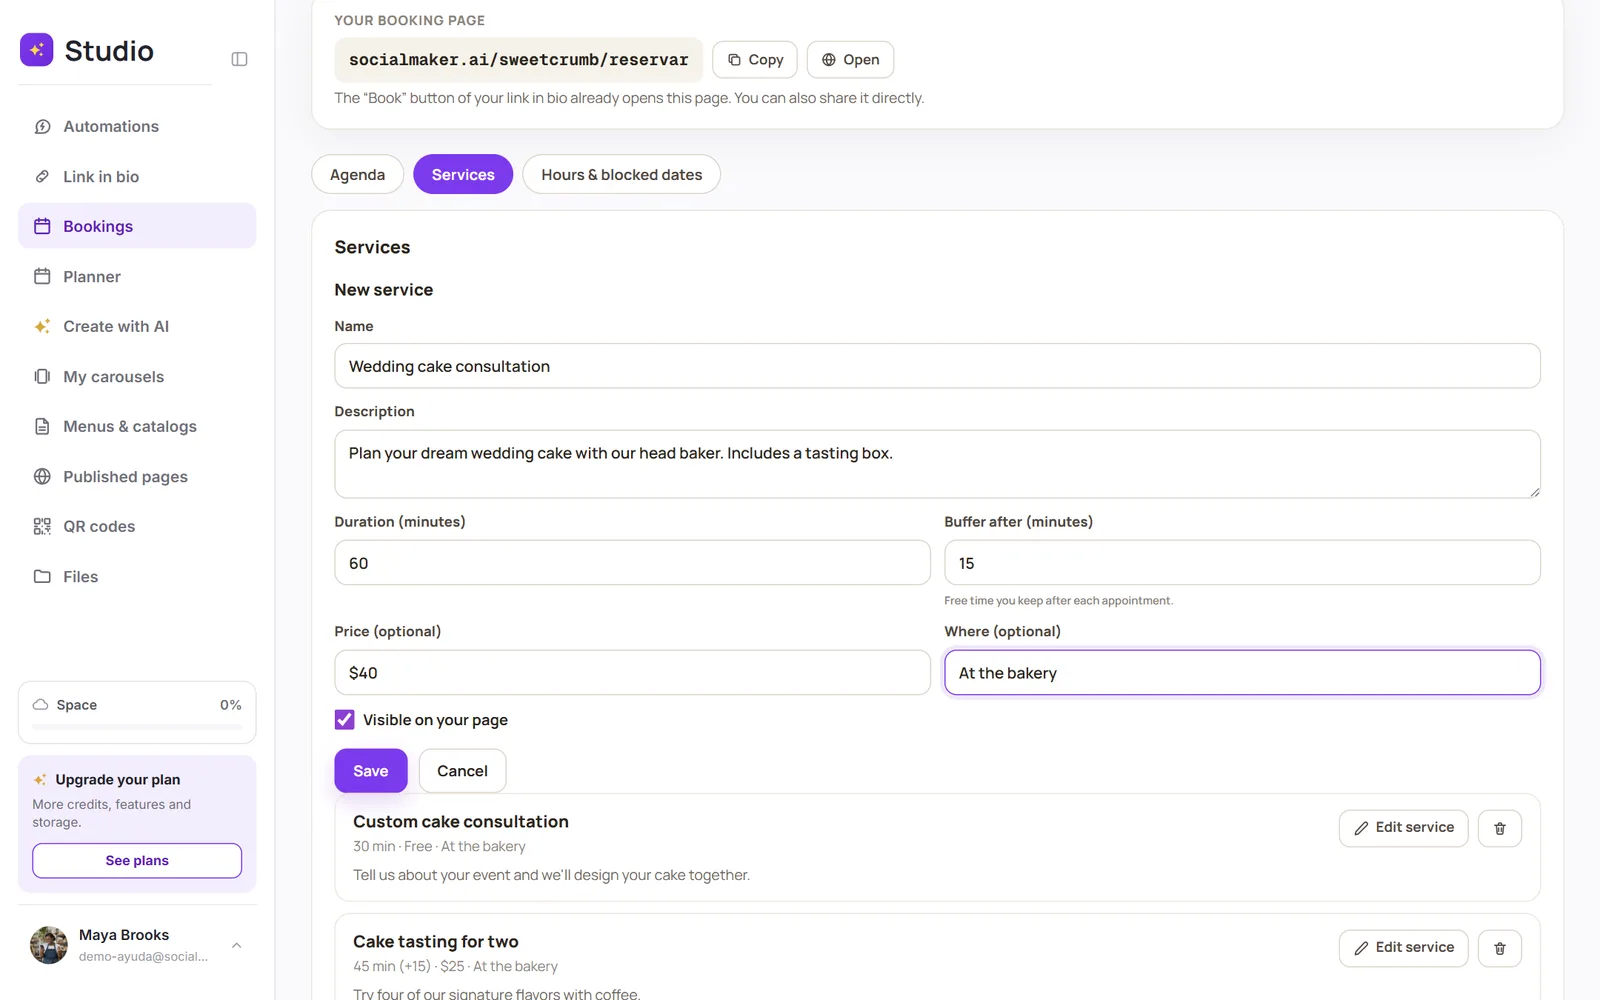
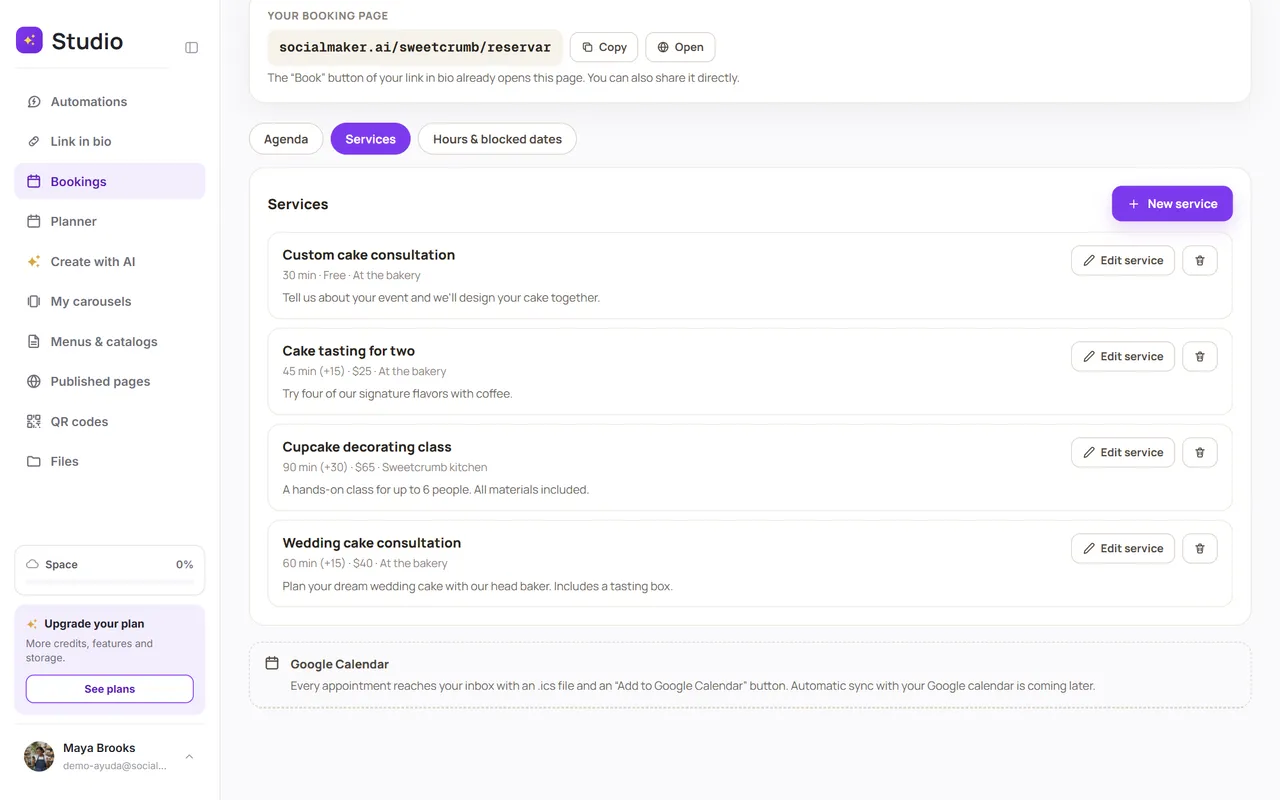
Save
The service appears on your booking page. Use the toggle to hide it without deleting it.
| Field | What it's for |
|---|---|
| Name | What your client sees, for example “Intro consultation.” |
| Description | What it includes and who it's for. |
| Duration | How long the appointment lasts, in minutes. |
| Buffer after | Free time you leave after each appointment (to clean up, travel or rest). |
| Price | Optional and free-form: “From $30,” “Free”… It's just informational: SocialMaker doesn't charge for it. |
| Where | Optional: your address, “Video call” or wherever you meet clients. |
Your logo on the page and in emails
Tap the Your logo box next to the Bookings title and upload your logo (PNG, JPG, WebP or SVG, up to 5 MB). It shows at the top of your booking page, on each appointment’s page and in the emails to your clients, which arrive in your business’s name (“Your business via SocialMaker”). To change or remove it, tap the logo. Your logo in Bookings comes with the Pro and Max plans.